Bails

Showing 81–93 of 93 results
-
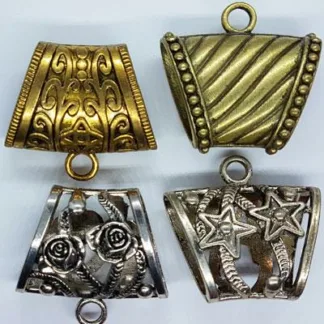
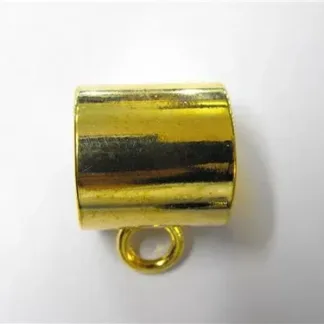
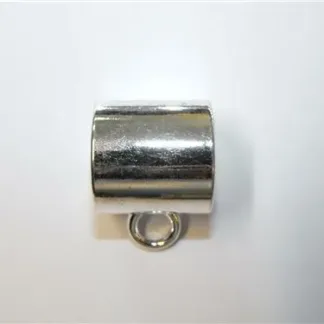
Scarf Bail Assorted Each EOL
Sale! Original price was: $4.00.$1.00Current price is: $1.00.7 in stock
-
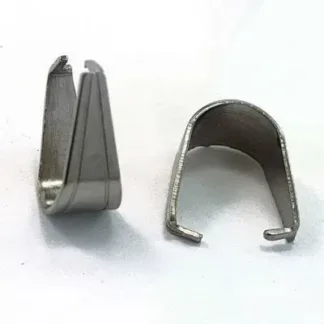
Stainless Steel Pendant Bail 11×13.2x6mm
$0.40114 in stock
-
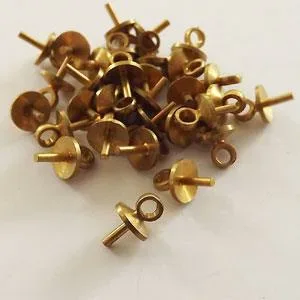
Top-drill Pendant Bail Insert Brass
$0.2067 in stock
-
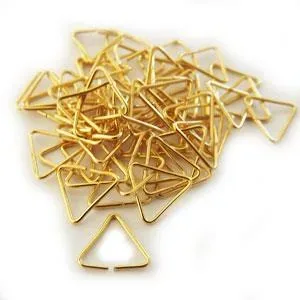
Triangle Bail Gold Large
$0.051004 in stock
-
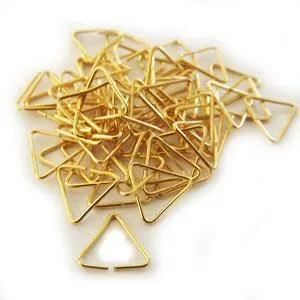
Triangle Bail Gold Large 100pk
$4.5068 in stock
-
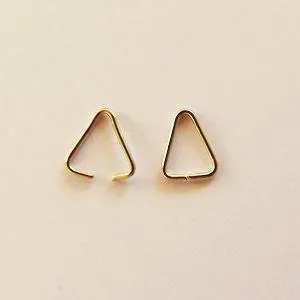
Triangle Bail Gold Small
$0.05146 in stock
-
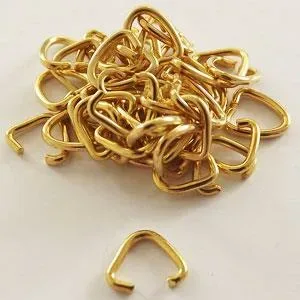
Triangle Bail Gold Thick Large 8mm
$0.10369 in stock
-
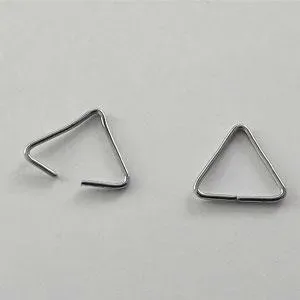
Triangle Bail Nickel Large 100pk
$4.5022 in stock
-
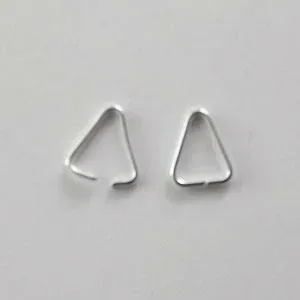
Triangle Bail Nickel Small 100pk
$3.5037 in stock
-
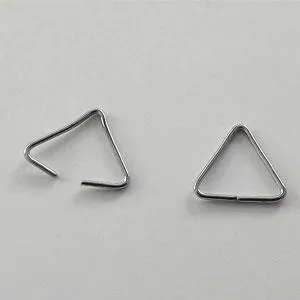
Triangle Bail Nickel Various Sizes
$0.20400 in stock
-
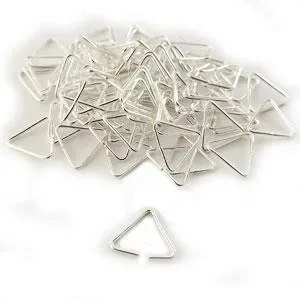
Triangle Bail Silver Large
$0.05116 in stock
Unlock Your Creativity with Jewellery Bails: A Guide to Crafting Stunning Pieces
Are you ready to take your jewellery crafting to the next level? If so, then you’ll want to familiarise yourself with jewellery bails. These small but essential findings are a must-have for anyone looking to create their own unique pieces. In this comprehensive guide, we’ll explore everything you need to know about jewellery bails, including how to use them, the different types available, and where to buy them. Let’s dive in!
What are Jewellery Bails?
Jewellery bails are small findings used to attach pendants, charms, or other decorative elements to chains, cords, or other jewellery components. They come in a variety of styles and designs, each serving a specific purpose in the jewellery-making process.
Types of Jewellery Bails
Pinch Bails: Pinch bails feature a simple yet effective design that allows you to attach pendants or charms by gently squeezing the sides of the bail to open it. Once attached, the bail provides a secure connection while still allowing the pendant to move freely.
Triangle Bails: Triangle bails, as the name suggests, have a triangular shape that adds a unique touch to your jewellery designs. They typically feature a loop at the top for easy attachment to chains or cords.
Glue-On Bails: Glue-on bails are perfect for attaching flat-backed pendants or cabochons to your jewellery designs. Simply apply a small amount of jewellery glue to the back of the pendant and press it onto the bail for a secure bond.
Scarf Bails: Scarf bails are versatile findings that can be used to create stunning scarf jewellery. They feature a loop for attaching charms or pendants, and a large hole to slip over the fabric of a scarf.
How to Use Jewellery Bails
Using jewellery bails is simple and straightforward. Here’s a basic step-by-step guide:
- Select the appropriate bail for your pendant or charm based on its size and design.
- If using a pinch bail, gently squeeze the sides to open it.
- Place the pendant or charm onto the bail, ensuring that it is centred and secure.
- Release the sides of the bail to close it securely around the pendant.
- If using a glue-on bail, apply a small amount of jewellery glue like E6000 to the back of the pendant and press it onto the bail.
- Allow the glue to dry completely before wearing or handling the piece.
How to Make Jewellery Bails
If you’re feeling creative, you can even make your own jewellery bails using basic wire working techniques. Here’s a simple tutorial to get you started:
- Choose a sturdy wire, such as sterling silver or copper, in your desired thickness.
- Cut a length of wire slightly longer than the desired length of your bail.
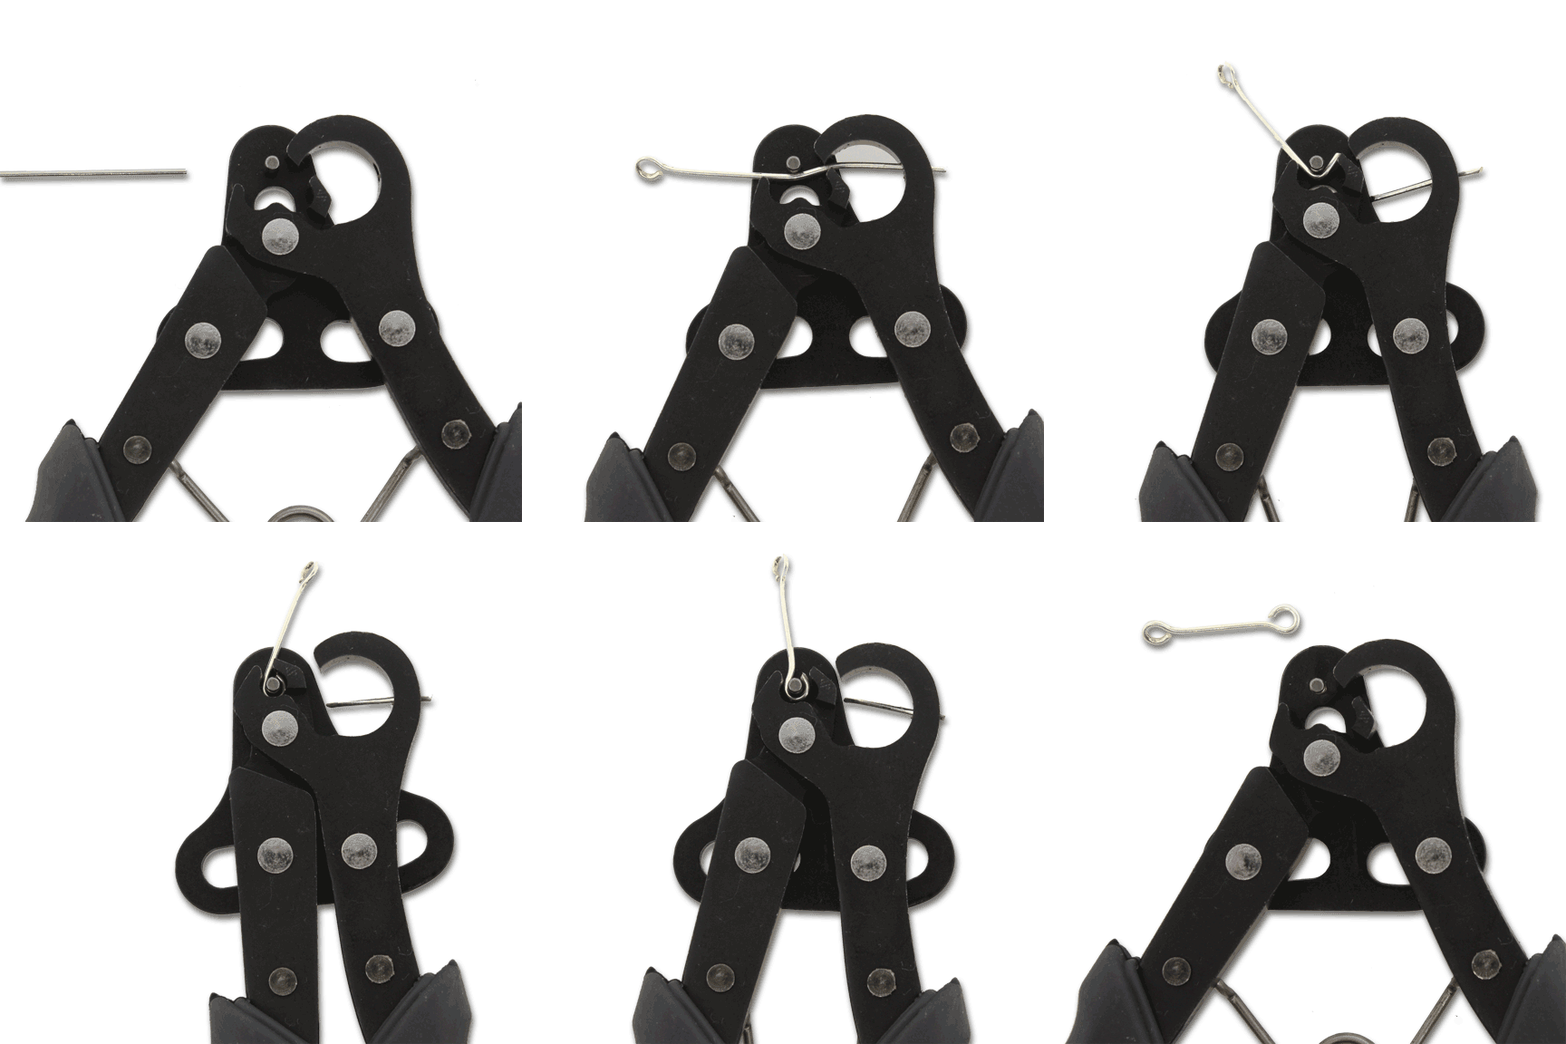
- Using round-nose pliers, create a small loop at one end of the wire.
- Bend the wire into a u-shape, leaving a small gap between the two ends.
- Use chain-nose pliers to flatten the ends of the wire and create a secure closure.
- Use a round-your-wire tool, or a file or sandpaper to smooth any rough edges.
- Attach the bail to your pendant or charm using jump rings or other connectors.
Where to Buy Jewellery Bails
When it comes to purchasing jewellery bails and other supplies, Beads N Crystals is your one-stop shop for all things jewellery-making. Based in Australia, Beads N Crystals offers a wide selection of high-quality bails, beads, findings, and more, all at affordable prices. Whether you’re a beginner or an experienced crafter, you’ll find everything you need to bring your creative vision to life.
Remember, bail findings are an essential component of any jewellery-making toolkit. From pinch bails to glue-on bails, there’s a bail for every design and style. Whether you’re attaching pendants to chains or creating custom scarf jewellery, bails are the key to bringing your creations to life. So why wait? Start exploring the world of jewellery bails today and unleash your creativity!
Showing 81–93 of 93 results


