Welcome to the wonderful world of crafting, where creativity knows no bounds! In this news blog, we’re going to explore the delightful art of crafting with googly eyes, bringing a touch of playfulness to various mediums like Sculpey polymer clay, resin, card making, fashion jewellery, and other general crafts. Get ready to embark on a journey of imagination and hands-on fun!
1: The Googly Magic Unveiled – Delving into the History and Evolution of Craft Eyes:
These little plastic eyes have a fascinating history that dates back to the early 20th century. They first gained popularity in the realm of toys and crafts during the 1920s and 1930s. The term “googly eyes” itself reflects the animated and lively nature of these peculiar accessories.
Origins:
The concept of movable eyes can be traced back to the German doll-making industry. Initially, these eyes were designed to move from side to side, creating a comical and animated effect. The unique charm of realistic moving eyes quickly caught on, making them a sought-after addition to various crafts and toys.
Popularity Surge:
As the popularity of jiggly eyes grew, they found their way into mainstream culture. Crafters, artists, and toy manufacturers began incorporating them into a wide range of projects, from handmade dolls and toys to humorous illustrations. Their ability to convey a sense of liveliness and playfulness made them an instant hit.
Movement and Animation:
The inherent movement of these eyes add an animated quality to projects. This feature is particularly effective in crafts that involve motion, such as kinetic sculptures, interactive cards, or toys with movable parts. The dynamic nature of the eyes captures attention and engages viewers.
Playful Detailing:
Incorporating googly eyes into projects allows for playful detailing. Enhance the whimsy of jewellery pieces, cards, or home decor items by strategically placing them to create unexpected and amusing effects. The juxtaposition of everyday objects with these animated eyes adds an element of surprise.
2: Googly Eyes and Rock Pals – A Perfect Pairing
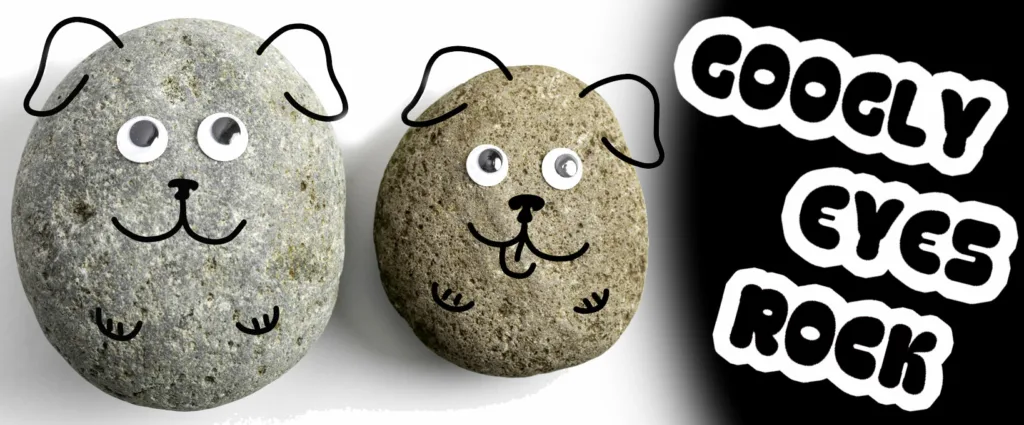
Rock pals, the delightful companions crafted from nature’s canvas, become even more enchanting when combined with cute little lively eyes and river rocks. Let’s explore the delightful fusion of these elements to create charming rock creatures that are sure to bring a smile to anyone’s face.
a. Rock Creature Creations:
For decades, children have crafted rock creatures using simple and low-cost materials. Smooth rover rocks can be found in local streams, creeks and parks. Remember to check your local council regulations before taking rocks from a public place. Most good hardware stores and landscaping suppliers have river rocks for sale.
All you’ll need is a few various smooth rocks, some eyes and glue, and some other embellishments. Glitter pens, permanent markers or paint pens, acrylic paint, spray paint or stick-on foam pieces could be used to decorate your rocks.
Immerse yourself in the art of crafting adorable rock creatures by gluing the eyes onto smooth river rocks. Add glitter, paint, pigment or alcohol inks to personalise your rock pal. This can be a fun and low cost holiday craft activity or class project.
b. Quirky Rock Pendants:
Elevate your rock pals’ charm by making extra small rock pals and turning them into quirky pendants featuring a pair of small eyes. They can be glued onto bails or wire wrapped to turn them into funky wearable art.
3: Googly Eyes and Polymer Clay – A Perfect Pairing
Polymer clay is a versatile medium that opens up a world of possibilities. At Beads N Crystals, we have over a decade of experience in polymer clay crafting and these googly eyes are a perfect companion. Learn how to incorporate these crafting elements into your polymer clay creations, whether it’s making adorable creatures, quirky pendants, or unique figurines. We’ll explore different techniques to ensure those eyes stay securely in place while baking.
The most important thing to remember when embellishing your polymer clay crafts with plastic elements is, of course, they can’t be applied before baking as they will simply melt.
The best idea is to use a tool, such as the bottom end of an Etch’n’Pearl, or the end of a pencil to create a recess just slightly larger than the bottom of the eye you plan to use. You can then simply glue in an eye into the space once the clay is baked and cooled.
a. Creature Creations:
If you love Sculpey III polymer clay as much as we do, this is a great place to start! Condition some oven bake polymer clay and form it into a figure. A simple ghost, animal or alien creature will work perfectly! You could even make your own rock shapes.
Once you’ve crafted your polymer clay creature, pre-heat your oven and bake it as per the instructions on the clay packet. It’s important not to decorate your creature until after it’s baked.
Leave your little pet to cool before gluing on a pair of plastic eyes. Most good brands of polymer clay can be painted, dyed and even decorated with puff paints and inks. Go wild and personalise your new little friend.
b. Quirky Pendants:
In the world of arts and crafts, there are no rules, so why not create a truly unique quirky wearable creation? Let your creativity run wild by infusing charm and whimsy into your designs with the addition of googly eyes. Begin by experimenting with various pendant shapes to breathe life into your creations. Consider crafting funny little creatures like monsters, aliens, or fantastical animals, each taking on a unique form that reflects your imagination. Play with geometric shapes for a modern twist or opt for asymmetry to add an extra touch of whimsicality. The choice is yours, and the possibilities are as limitless as your inventive spirit.
When it comes to colour combinations, embrace the vibrancy of polymer clay and let your pendants pop with an array of hues. Blend contrasting or complementary colours to create eye-catching designs that amplify the playful nature of your googly-eyed characters. Don’t shy away from bold patterns and intricate detailing to add depth and character. Mix and match colours to evoke different moods and consider incorporating metallic accents for a touch of elegance. As you embark on your pendant-making journey, think of each piece as a mini canvas, where the fusion of colour and shape comes together to tell a unique and whimsical story.
4: Resin Resonance – Googly Eyes in Clear Delight
Take your crafting to the next level by adding a touch of transparent brilliance with resin. Discover how to embed googly eyes in resin creations, from funky keychains to mesmerising paperweights. Clear materials like plastic and glass can become almost invisible in resin, so experiment with different ways using these little embellishments.
Eyes submerged in resin can look very weird! If your backing matches the white colour of the back of the eye, it can disappear into the design, with just the little disc randomly moving around in a little air bubble. To keep the original look of the eyes, glue them onto the surface after the resin has cured or sit them on top before it completely congeals.
a. Embedding Techniques:
Like any other embellishments you use in epoxy resin, eyes can be used in, on or partly submerged in resin. Each option will give a completely different result, but luckily, they are cheap enough to play around with and experiment in different ways.
b. Creative Resin Projects:
Most people will place eyes onto figurines under resin, or stick them to the outside to make a quirky rock art style creation. But that’s just the beginning! Experiment with abstract and modern artistic styles. Take influence from steampunk or even magical realism artistic styles to create something truly unique.
5: Googly Glam – Fashion Jewellery Extravaganza
Elevate your style with googly eyes in the world of fashion jewellery. Explore unique ways to incorporate these playful elements into earrings, necklaces, and bracelets. From avant-garde statement pieces to subtle, eye-catching accents, we’ve got your fashion-forward crafting covered.
a. Earrings:
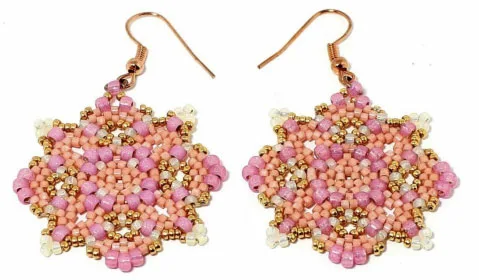
Explore different earring designs incorporating googly eyes. From dangling eye earrings to stud accents, highlight ways to create eye-catching jewellery that reflects your own unique personal style.
b. Necklaces and Bracelets:
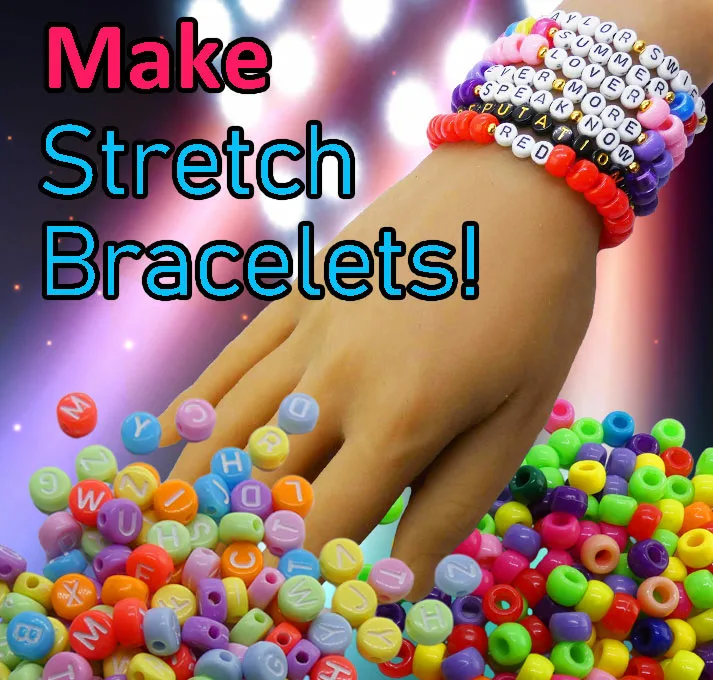
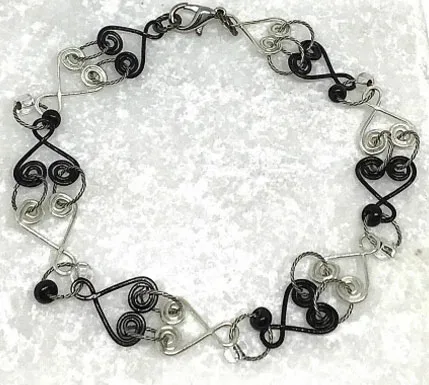
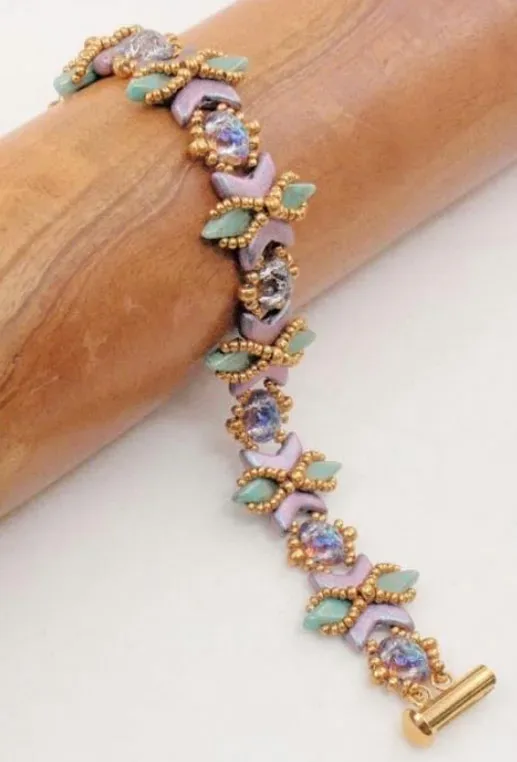
Yes, even the humble necklace isn’t safe from joggle eyes at our bead shop! They can be used along with glass tiles, bezels, clay beads and more. Get creative and see where your imagination can take you! Filigree metal components, which we also stock, are a great place to start in your mixed media adventure.
6: Card Making with a Wink
Gift cards may seem a world away from beading, but really it’s not. Back when we were in the Brisbane City Adelaide St Arcade, (a stone’s throw from the corner of the Myer Centre) we stocked a wide range of cards and card making supplies in new-age themes. Although we’re not the go-to destination for card-stock, we know many beaders are also closet card makers! And we love that!
Bring a smile to someone’s face with handmade cards featuring googly eyes. Dive into the world of card making and learn how to create adorable, witty, and downright hilarious designs. Whether it’s a birthday, anniversary, or just a ‘thinking of you’ card, googly eyes are sure to add that extra touch of joy.
a. Occasion-Specific Cards:
Children’s birthday cards can be made a lot more fun with some funky embellishments. For many people, that’s where it ends. But no, get well cards that will put a smile on someone’s face could be just what the doctor ordered! Laugh off a belated birthday or anniversary with a dash of humour and a splash of fun.
b. Interactive Cards:
Remember creating pop-up cards as a kid? Bring back the nostalgia with a handmade popup that jumps out and steals the show. A pull tab to eject a cheeky meercat, a clown that jumps out 10-fold, or an animal with a cartoonish face. Amaze your loved ones with your card-making skills!
7: General Crafts Get a Googly Upgrade
Lets take a look at the versatility of googly eyes in various general crafts. From decorating everyday items to adding a touch of fun to home decor.
a. Everyday Items:
Wall art, coasters and even sunnies can be made a little more fun with a dab of glue and a pair of eyes. You can make anything silly, random, funny or ridiculous in seconds!
b. Home Decor:
Incorporate googly eyes into home decor projects, like creating a whimsical mirror frame or a decorative wall art piece. There are so many artistic ways you can add a dash of fun to your life. As a little easter-egg, we’ve decorated a few items in our bead shop, so if you get a chance to drop in, see if you can find them!
Conclusion: Googly Eyes – A Crafty Companion
As we wrap up this pretty unusual crafting adventure, we hope you’re inspired to unleash your creativity and experiment with googly eyes in diverse ways. Whether you’re into polymer clay, resin, fashion jewellery, card making, or general crafts, the wiggly charm of googly eyes is bound to bring a smile to your face and a touch of whimsy to your creations.
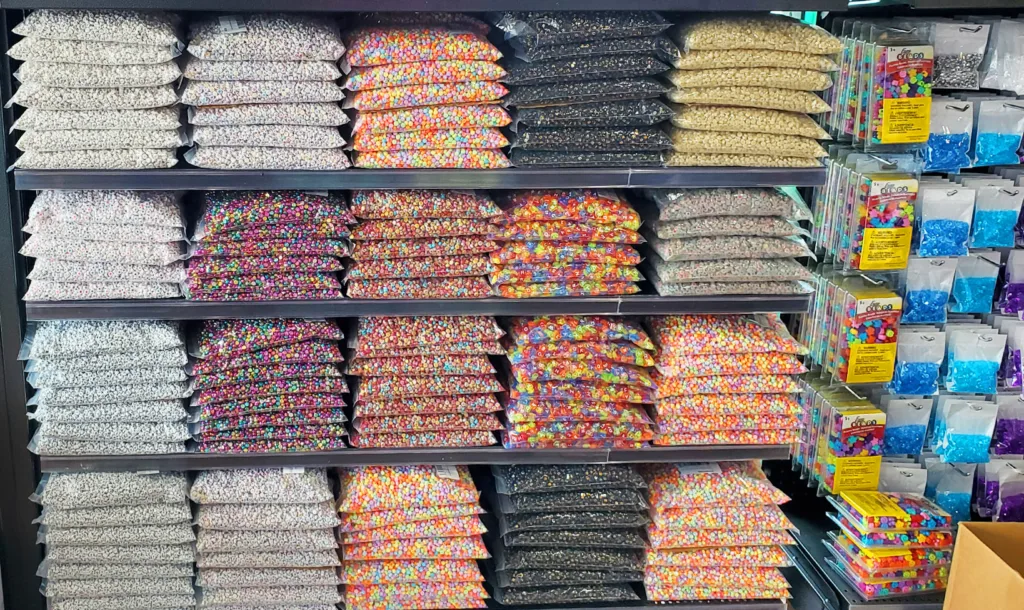
Next time you’re placing an order, or cruising around Brisbane, drop in and grab a pack. See where it takes you!
Happy crafting!
